- Teach CS with DIY Arduino Game Consoles
- Run a Classroom on DIY Arduino Handheld Games
- Low‑cost Arduino Game Consoles for CS Outreach
Summary
This guide shows how to run a hands‑on class that spreads enthusiasm for computer science by having students build simple Arduino game consoles. Advantages: quick tangible results that teach programming, electronics, and iteration; low-cost parts that scale for classrooms; clear pathways from hardware assembly to game design (examples: a playable Pong clone, a reaction timer, or a platformer prototype).
Who this is for
Developers, makers, and educators who want fast, reliable results at low cost for small classes, clubs, or outreach events. Assumes basic familiarity with Arduino IDE and soldering.
Learning goals & schedule (90–150 min class)
- 10 min: intro to console components and safety
- 20–30 min: solder/assemble hardware (pre‑builed PCBs or kits if time is tight)
- 30–40 min: load starter sketch and explain game loop, input, rendering
- 20–30 min: modify mechanics or visuals; playtest and iterate
- 10 min: showcase, discuss next steps and contributions
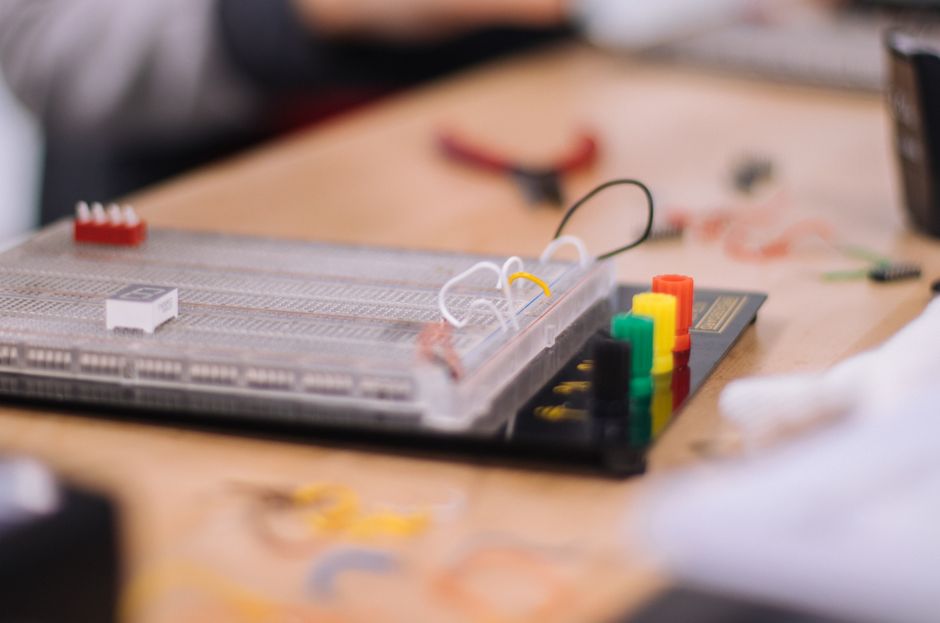
Minimalist parts/tools list
- Arduino‑compatible microcontroller (3.3V Pro Mini 8MHz or Pro Trinket 3.3V recommended)
- 0.96" or 1.3" I2C OLED display (SSD1306 / 128x64 common)
- 3–6 tactile buttons (momentary push)
- LiPo battery (500–1000 mAh) + protection/charger (TP4056 board) OR 2×AA holder + switch
- Perfboard or simple breakout PCB and header pins
- Wires, small screws, enclosure (3D printed or laser‑cut), or cardboard for rapid prototyping
- Soldering iron, solder, flush cutters
- Computer with Arduino IDE or arduino-cli Tools (per station): soldering iron, multimeter, USB cable, hot glue
Note: choose 3.3V microcontrollers to avoid level‑shifting when running off a single LiPo.
Starter firmware (concept + snippet)
Core concepts: setup, game loop (read inputs, update state, draw frame). The snippet below uses Adafruit_SSD1306 / GFX libraries.
Install libs (Arduino IDE or arduino-cli):
- Arduino IDE: Sketch → Include Library → Manage Libraries → install "Adafruit SSD1306" and "Adafruit GFX"
- arduino-cli: arduino-cli lib install "Adafruit SSD1306" "Adafruit GFX"
Example (very small reaction timer / moving pixel):
#include <Adafruit_GFX.h>
#include <Adafruit_SSD1306.h>

#define SCREEN_WIDTH 128
#define SCREEN_HEIGHT 64
Adafruit_SSD1306 display(SCREEN_WIDTH, SCREEN_HEIGHT, &Wire);

const int btnA = 2;
const int btnB = 3;
int x = SCREEN_WIDTH/2, y = SCREEN_HEIGHT/2;

void setup() {
pinMode(btnA, INPUT_PULLUP);
pinMode(btnB, INPUT_PULLUP);
display.begin(SSD1306_SWITCHCAPVCC, 0x3C);
display.clearDisplay();
}

void loop() {
// read input (active LOW)
if (!digitalRead(btnA)) x = max(0, x-2);
if (!digitalRead(btnB)) x = min(SCREEN_WIDTH-1, x+2);

// simple update/draw
display.clearDisplay();
display.fillCircle(x, y, 3, SSD1306_WHITE);
display.setCursor(0, 0);
display.setTextSize(1);
display.setTextColor(SSD1306_WHITE);
display.println("DIY Console");
display.display();
delay(30);
}
Use this as a baseline: swap sprites, implement collision, or change controls.
Classroom setup tips
- Preprogram one "instructor" board and one "student" blank board per pair. Saves time.
- Use breakout PCBs or pre‑tinned headers for faster soldering.
- Prepare a clear wiring diagram and printed troubleshooting steps per station.
- Offer one advanced challenge (AI opponent, music, level editor) and one quick tweak (change speed/controls).
Comparing alternatives and trade‑offs
- Arduino Pro Mini (3.3V, 8MHz)
- Pros: runs directly from LiPo, low cost, simple
- Cons: limited RAM/flash; careful with large graphics
- ESP32 / Raspberry Pi Pico
- Pros: far more RAM/CPU; can support color or larger displays
- Cons: slightly higher cost, more complex power management; some boards require extra setup for Arduino or MicroPython
- micro:bit
- Pros: education‑focused, easy to program
- Cons: limited display resolution; less "console" feel
- Off‑the‑shelf handheld kits
- Pros: fastest to deploy
- Cons: limited teachable assembly; less customization
Recommendation: use 3.3V Arduino‑compatible boards for lowest friction and battery simplicity. Move to ESP32 or Pico only if you need color or audio and are comfortable with extra complexity.
Common pitfalls and gotchas (3–5 bullets)
- Power and voltage: running 5V Arduinos off LiPo without boost breaks reliability. Use 3.3V boards or proper boost circuits.
- Memory limits: SSD1306 graphics buffer uses RAM; keep sprite data small or use page buffer libraries.
- I2C address conflicts: two I2C devices with same address require bus multiplexing or combining components.
- Soldering time: novice solderers take longer. Provide pre‑built kits or volunteer helpers.
- Library mismatch: ensure Adafruit libraries match board architecture; test sketches before class.
Seeking help & community strategies
- Publish a minimal GitHub repo with wiring diagrams, starter sketches, and a parts list. Use Issues and a "How to contribute" blurb for volunteers.
- Recruit local makerspaces, college CS clubs, or high‑school robotics teams as mentors; offer clear preclass checklists so volunteers can prep.
- Run a short teacher/mentor prep session to walk through one build and one debug scenario.
- Use social outreach: post a concise project page with photos and next‑steps to attract donations or volunteers.
Assessment and next steps
- Short rubric: device powers up (1), sketch runs (2), student-made change works (3), game is playable (4).
- After the class: host a hackday to add features (sound, save states), port games to other boards, or assemble a "best of" firmware collection.
Final notes
Keep the first builds small: a single sprite, two buttons, one screen. That yields quick wins and clear learning scaffolding. If you want a tested starting repo, create one with step‑by‑step photos, wiring PNGs, and the simple sketch above so volunteers and students can reproduce reliably.
Parts & Tools
- Arduino Pro Mini 3.3V 8MHz
- Adafruit Pro Trinket 3.3V
- ESP32 development board
- Raspberry Pi Pico
- BBC micro:bit
- 0.96 inch SSD1306 OLED display
- 1.3 inch SSD1306 OLED display
- momentary tactile push buttons
- LiPo battery 3.7V 500mAh
- LiPo battery 3.7V 1000mAh
- TP4056 LiPo charger board with protection
- 2x AA battery holder with switch
- perfboard prototyping board
- breakout PCB prototyping board
- male female header pin kit
- pre-tinned header pins
- jumper wire kit
- assorted electronic small screws kit
- electronics project enclosure plastic box
- corrugated cardboard sheets
- soldering iron kit
- solder wire 60/40
- flush cutter pliers
- digital multimeter
- micro USB cable
- USB to serial FTDI adapter
- hot glue gun
- DIY handheld game console kit