- Ada + SPARK on ARM Cortex‑M: Arduino & Nucleo Tutorial
- Build Ada and SPARK Firmware for Cortex‑M (Arduino/Nucleo)
- Quick Guide: Ada/SPARK on ARM Cortex‑M with Arduino & Nucleo
Summary
This guide shows how to run Ada (and the SPARK subset) on ARM Cortex‑M boards using two practical routes: (1) call existing Arduino core functions from Ada on ARM‑based Arduinos, and (2) link Ada against vendor C HAL on ST Nucleo boards. Advantages: small, reliable binaries, easy interop with mature C libraries (Arduino/HAL), and a straightforward path to SPARK verification for safety‑critical parts.
Examples in this guide:
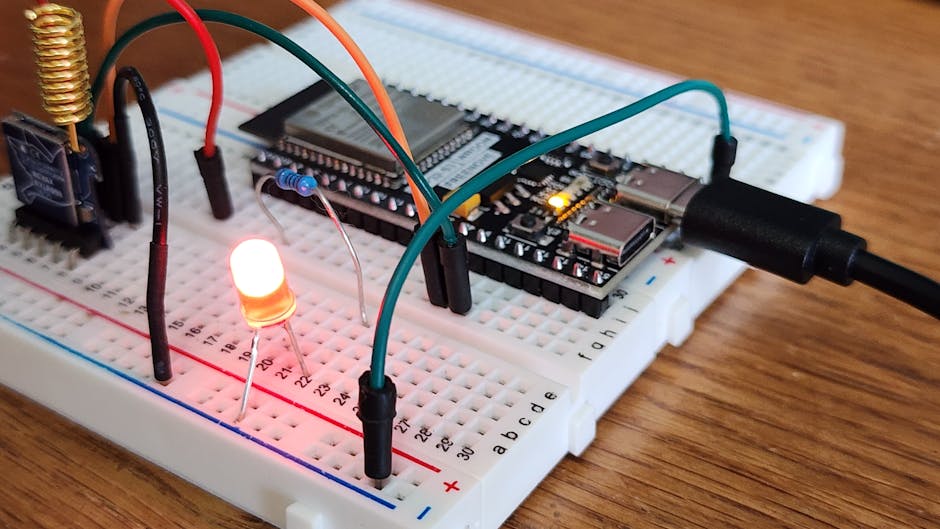
- Blink an LED on an Arduino‑core Cortex‑M board by importing Arduino functions into Ada.
- Toggle a Nucleo LED by binding to STM32 HAL functions from Ada and flashing with OpenOCD.
Minimal parts/tools list
- ARM Cortex‑M board: Arduino board with an ARM core (e.g., Due/MKR/SAMD) or an ST Nucleo (any STM32 Nucleo with onboard ST‑Link).
- USB cable and a programmer/debugger (ST‑Link usually onboard Nucleo).
- GNAT toolchain for ARM (AdaCore GNAT Community or equivalent cross toolchain).
- gprbuild (build system for Ada), arm-none-eabi-binutils, OpenOCD, Arduino CLI / bossac (for SAM boards).
- Text editor and a terminal.
Toolchain setup (high level)
- Install a cross Ada toolchain that targets ARM Cortex‑M (GNAT Community or distro packages). Make sure gprbuild is available.
- Install arm-none-eabi-binutils, OpenOCD (for STM32), and Arduino CLI or bossac (for SAM-based Arduinos).
- Optionally install SPARK tools (gnatprove) if you plan to verify code.
Note: exact package names differ by OS—use AdaCore’s site for Windows/macOS installers or your distro’s repos.
Project layout (recommended)
- project.gpr — gprbuild project file, selects toolchain and CPU flags.
- src/
- blink.adb — Ada application
- bindings.h / bindings.c — optional small C glue if needed
- build/ — build outputs (.elf, .bin)
Use gprbuild to build: gprbuild -P project.gpr
After build, convert ELF to binary for flashing: arm-none-eabi-objcopy -O binary build/blink.elf build/blink.bin
Flash with OpenOCD (STM32) or bossac/Arduino CLI (SAM).
Example 1 — Arduino core (easy, practical)
This is the simplest path for ARM‑based Arduino boards: call Arduino C functions from Ada.
src/blink.adb
with Interfaces.C; use Interfaces.C;
procedure Blink is
procedure pinMode (pin : C.int; mode : C.int);
pragma Import (C, pinMode, "pinMode");

procedure digitalWrite (pin : C.int; val : C.int);
pragma Import (C, digitalWrite, "digitalWrite");

procedure delay (ms : C.int);
pragma Import (C, delay, "delay");
begin
pinMode (13, 1); -- OUTPUT
loop
digitalWrite (13, 1);
delay (500);
digitalWrite (13, 0);
delay (500);
end loop;
end Blink;
Build notes:
- Use a gpr project that passes the same CPU flags as the Arduino core (e.g., -mcpu=cortex-m0plus etc.), and link against the Arduino core libraries (use Arduino CLI or copy core objects).
- One practical route: compile Ada to build/blink.o and add it to the Arduino link step (Arduino CLI supports object files). Or create a final link with arm-none-eabi-gcc combining Arduino core objects and your Ada object.
Flash using Arduino CLI or bossac, depending on the board.
Example 2 — Nucleo (STM32 HAL interop)
On Nucleo boards you usually want to use the vendor HAL for GPIO and SysTick. The pattern: write small C init code (generated by CubeMX or existing project) and call HAL functions from Ada.
Ada bindings pattern (conceptual):
with Interfaces.C; use Interfaces.C;
procedure Blink_STM is
-- Bind HAL functions
procedure HAL_GPIO_TogglePin (port : System.Address; pin : Unsigned_32);
pragma Import (C, HAL_GPIO_TogglePin, "HAL_GPIO_TogglePin");

procedure HAL_Delay (ms : Unsigned_32);
pragma Import (C, HAL_Delay, "HAL_Delay");
begin
loop
-- pass the GPIO port symbol from the linked C code (e.g. &GPIOA)
HAL_GPIO_TogglePin (GPIOA_Address, 16#0001#); -- replace with actual
HAL_Delay (500);
end loop;
end Blink_STM;
Recommended flow:
- Generate HAL init code with CubeMX (creates C files and linker script).
- Add your Ada objects to the same link step (gprbuild can invoke the final link).
- Flash with OpenOCD: openocd -f interface/stlink.cfg -f target/.cfg -c "program build/blink.elf verify reset exit"
Be sure to reuse the same linker script and startup code that the C HAL expects (vector table, stack, etc.).
SPARK: where to use it
- Use SPARK on safety‑critical modules (algorithms, state machines, invariants).
- Keep hardware glue (GPIO HAL calls) in Ada/C and verify the logic in SPARK Ada procedures.
- Running gnatprove requires the SPARK toolchain; start small and isolate SPARK‑eligible code from low‑level bindings.
Alternatives and trade‑offs
- Direct register access (pure Ada bare‑metal) is smallest and fastest but less portable and more error‑prone.
- Using vendor HAL/Cores (Arduino/STM32 HAL) improves portability and boot code reuse at the cost of larger binary size and C runtime dependencies.
- SPARK gives formal guarantees but constrains language features and needs extra tooling/effort.
- If you want minimal runtime and full Ada features, invest time in a proper Ada runtime/config (Ravenscar profile for RT).
Tips, pitfalls, gotchas
- Binding C functions: use pragma Import (C, ...) and match exact symbol names and calling conventions.
- Linker scripts matter: reuse the board’s startup/ld script used by the C code to keep vectors and memory layout correct.
- Watch runtime size: Ada runtime can be larger than C; strip unused features and use -Os and linker garbage collection.
- SPARK and FFI: verify SPARK code boundaries — keep hardware manipulation in small, unverifiable binding layers.
- Debugging: use GDB + OpenOCD to step into Ada; ensure debug symbols are preserved in the ELF.
Final notes
Start by reusing the C/C++ initialization and runtime for the board and call into Ada for the application logic—this yields fast results with low cost. Move critical algorithms into SPARK‑verified Ada incrementally. Keep builds reproducible with a gpr project and a shared linker script; use OpenOCD / Arduino CLI for flashing.
Parts & Tools
- Arduino Due development board
- Arduino MKR series development board
- Arduino Zero SAMD21 development board
- STM32 Nucleo development board
- ST-Link V2 programmer debugger
- SEGGER J-Link debugger
- USB A to Micro-B cable
- USB A to USB-C cable
- Solderless breadboard
- Male to male jumper wires
- Soldering iron kit with solder
- 2.54mm male pin header strip
- 10-pin SWD debug cable
- USB TTL serial adapter CP2102
- Digital multimeter